
How to Fix a Leaky Faucet in 5 Easy Steps
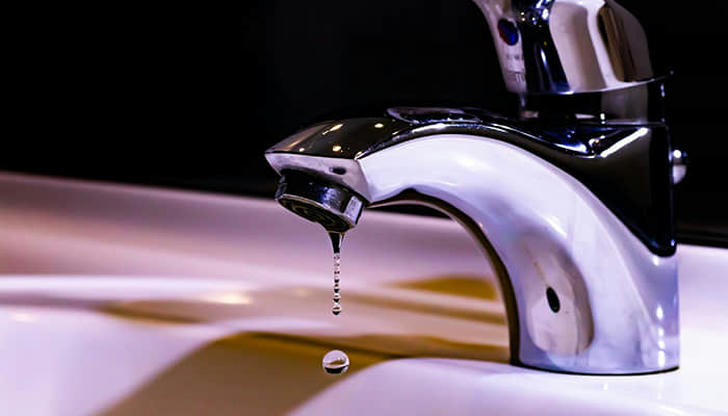
A dripping faucet is more than an annoyance and can waste gallons of water and increase your utility bill. The good news is that it's simple to repair a leaky faucet as a DIY plumbing task that does not require the services of a professional. In this guide, we'll walk you through how to repair a leaky faucet in five simple steps with everyday tools that you might already own in your home. Follow these steps to save money while preventing future plumbing issues.
Why Leaky Faucet Repair Matters
- Water Conservation: A drip can waste as much as 3,000 gallons of water annually.
- Save on Utility Bills: Fixing the leak can save you money on your water bill.
- Prevents Water Damage: Continuous leaks can warp your sink, countertops and cabinets.
- Avoids Mold Growth: Moist environments encourage mould and mildew leading to health problems.
Tools and Materials You'll Need
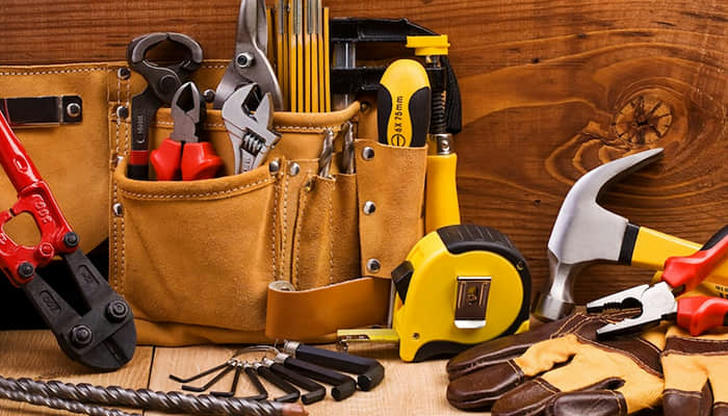
- Adjustable wrench
- Phillips and flathead screwdrivers
- Replacement washers and O-rings
- Plumber's grease
- A bucket or towel (to catch excess water)
- Plumber's tape (if needed)
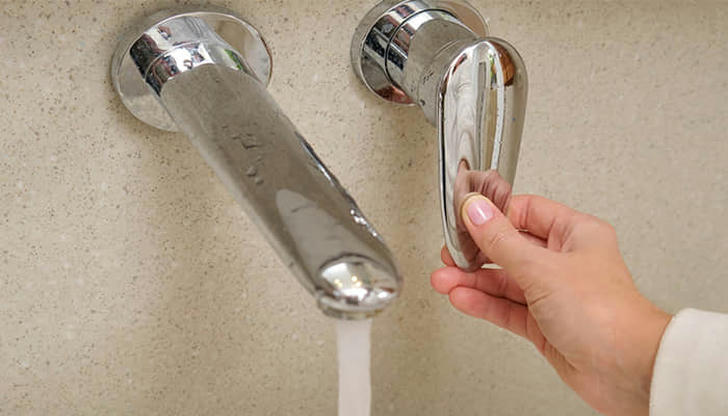
Step 1: Turn Off the Water Supply
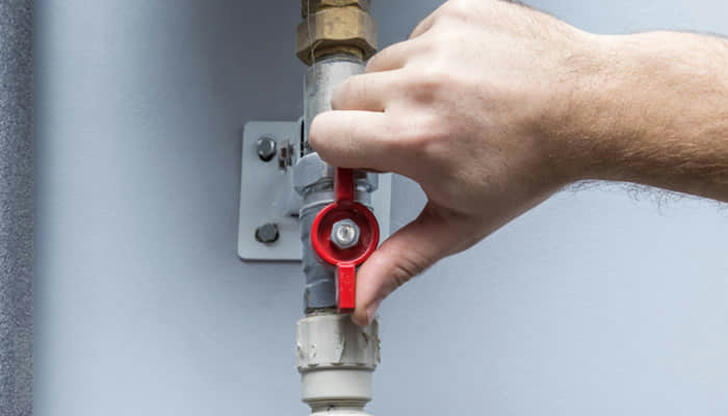
- Find two shut-off valves below the sink (hot and cold water).
- Turn both clockwise to tighten them until they will not turn anymore.
- If your sink lacks shut-off valves, turn off the main water supply to your home.
- Turn on the faucet to drain any remaining water in the pipes.
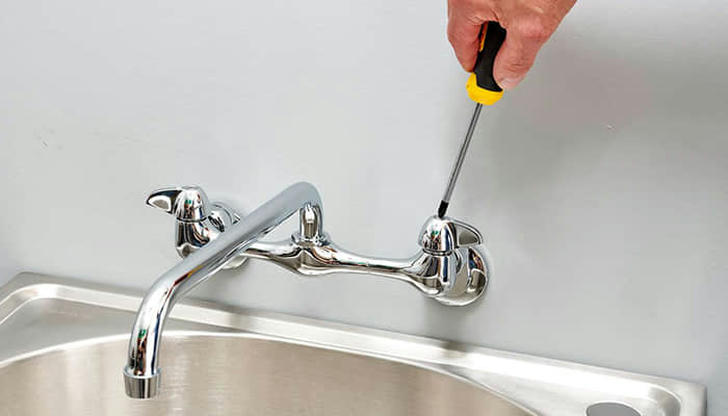
Step 2: Take Out the Faucet Handle
- Find the screw: Most faucet handles have a small screw under the cap or on the side.
- Remove the cap with a flathead screwdriver and reveal the screw.
- Loosen the screw with a Phillips screwdriver and remove the handle gently.
- Check for damage: If the handle is loose, you may need to replace it.
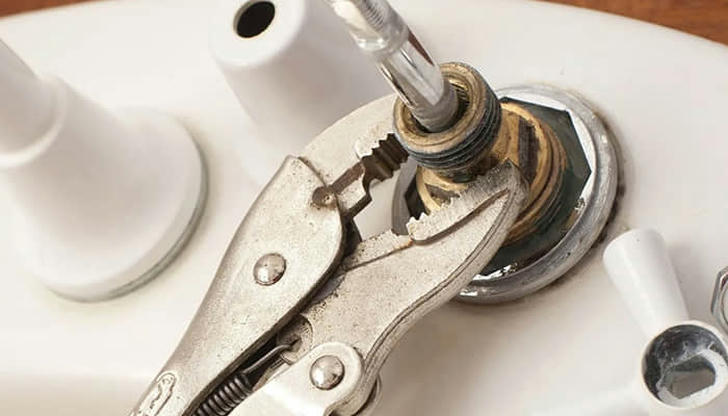
Step 3: Remove and Inspect the Cartridge or Washer

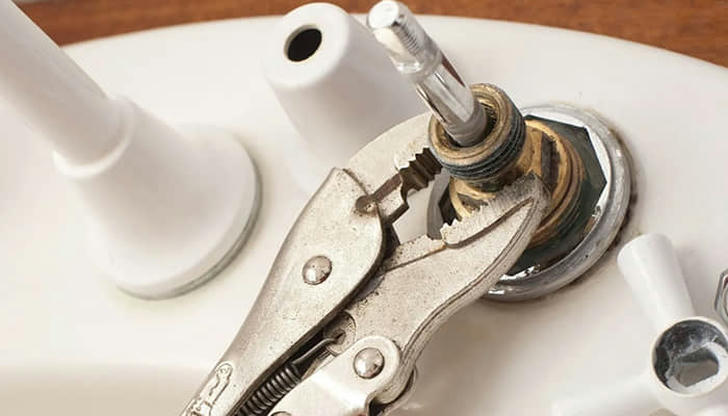
- Loosen the packing nut with an adjustable wrench.
- Pull out the stem or cartridge carefully.
- For compression faucets: Inspect the rubber washer at the bottom of the stem.
- For cartridge faucets: Remove and inspect the entire cartridge.
- Replace washers/O-rings if cracked, brittle or deformed.
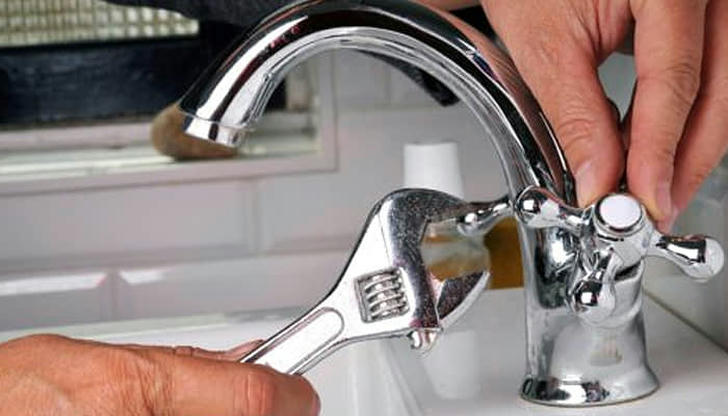
Step 4: Swap the Washer and Rebuild the Faucet
- Purchase replacement washers matching the old ones.
- Apply plumber's grease to the new washer before installation.
- Insert new washer and tighten the packing nut.
- For cartridge faucets: Install new cartridge if needed.
- Reassemble the handle and secure with screw.
Step 5: Turn On the Water and Test the Faucet
- Slowly turn water supply back on.
- Open faucet and let water flow to remove air pockets.
- Check for leaks at base and handle.
- If dripping persists, ensure all components are properly tightened.
Additional Tips on How to Repair a Leaky Faucet
- Use Plumber's Tape: For thread leaks, wrap plumber's tape clockwise around threads.
- Clean Mineral Buildup: Soak aerator in vinegar overnight to dissolve deposits.
- Consider Replacement: Old faucets with recurring issues may need complete replacement.
When to Call a Professional
Seek professional help when:
- Faucet continues leaking after repair
- You notice pipe corrosion or water damage
- Unsure about disassembly/reassembly process
Final Thoughts
Fixing a leaky faucet is a simple, cheap way to prevent wasted water and a high utility bill. These five simple steps enable one to quickly fix this DIY plumbing job in under an hour.
With a bit of work and the right equipment, you'll be able to have your home plumbing in top working order and avoid costly repairs later on. And if you have any questions, don't hesitate to call the experts. Good luck fixing it!