How to Replace a Broken Electric Outlet Securely
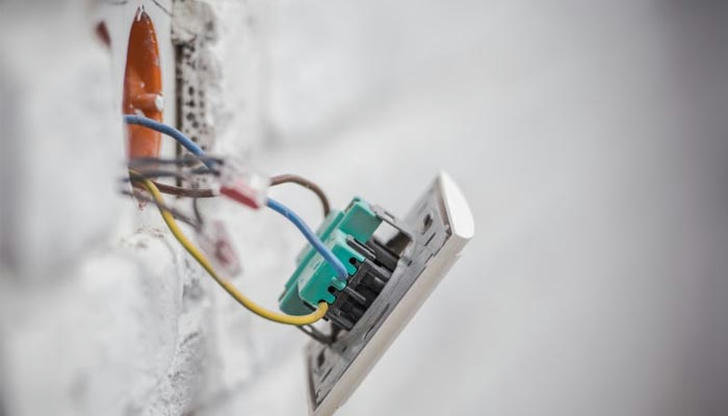
Replacing a broken electrical outlet can seem intimidating but it's a doable DIY electrical replacement task with the right tools, protection and following step-by-step directions.
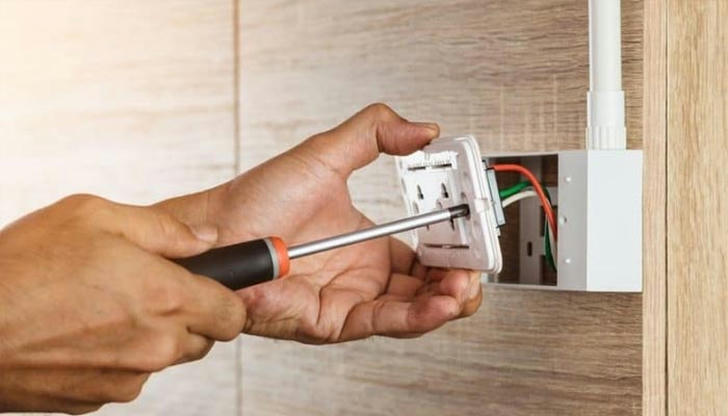
Why Replace a Broken Electrical Outlet?
A broken electrical outlet can be more than an inconvenience as it can pose serious safety risks. Cracked and damaged outlets may expose wiring, increasing the risk of electrical shocks or fires. Loose outlets can cause appliances to lose power intermittently, potentially damaging sensitive electronics. By addressing the problem promptly, you'll maintain a safe and functional home environment.
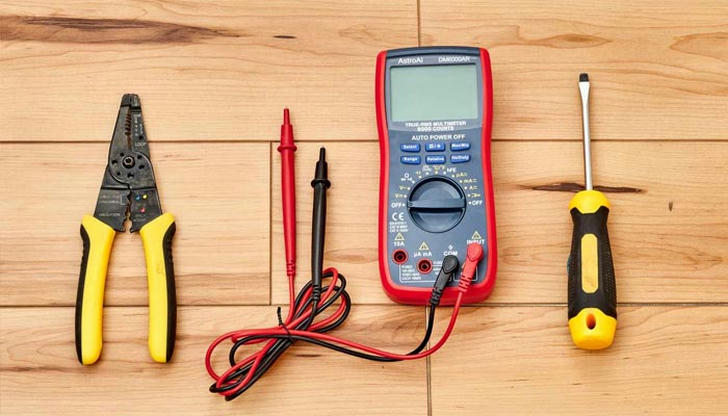
Tools and Materials You'll Need
- Screwdrivers: Phillips-head and flathead screwdriver
- Voltage Tester: To ensure the power is off before working
- Wire Strippers: To trim and prepare wires
- Needle-Nose Pliers: To bend and support wires
- Replacement Outlet: Duplicate your old outlet's type (e.g. 20-amp or 15-amp) and style (e.g. duplex)
- Electrical Tape: For added insulation
- Wire Nuts: To secure wire connections
- Safety Gear: Rubber-soled shoes and insulated gloves for added protection
Step 1: Turn Off the Power
- Locate the correct breaker in your main circuit panel
- Turn off power to the outlet
- Verify power is off using a voltage tester
Pro Tip: Place tape over the breaker switch to prevent accidental reactivation.
Step 2: Remove the Outlet Cover Plate
- Use a flathead screwdriver to remove the cover plate
- Set aside plate and screws for reinstallation
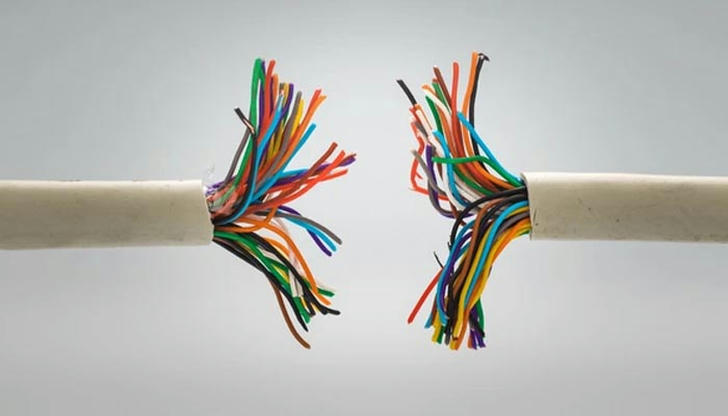
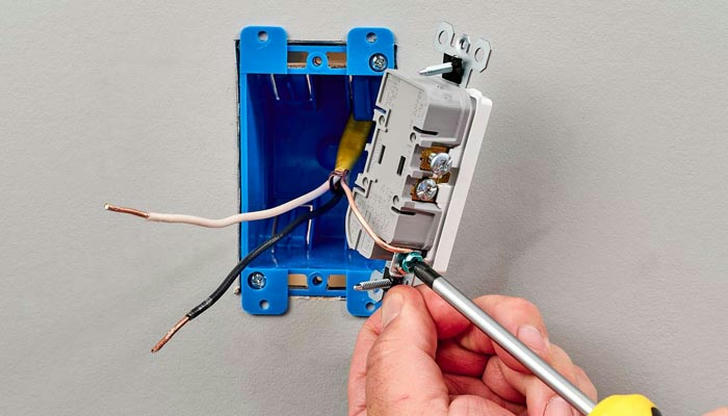
Step 3: Unscrew the Outlet from the Electrical Box
- Remove the top and bottom screws securing the outlet
- Gently pull the outlet out to expose the wiring
Step 4: Disconnect the Wires
- Note the wire connections:
- Hot Wire (Black/Red)
- Neutral Wire (White)
- Ground Wire (Green/Bare)
- Loosen terminal screws and disconnect wires
Pro Tip: Take a photo of the wiring before disconnecting.
Step 5: Prepare the Wires
- Inspect wires for damage
- Trim and strip wires if needed
- Bend wire ends into hooks
Step 6: Wire the New Outlet
- Connect wires to corresponding terminals:
- Hot → Brass/Gold
- Neutral → Silver
- Ground → Green
- Tighten screws securely
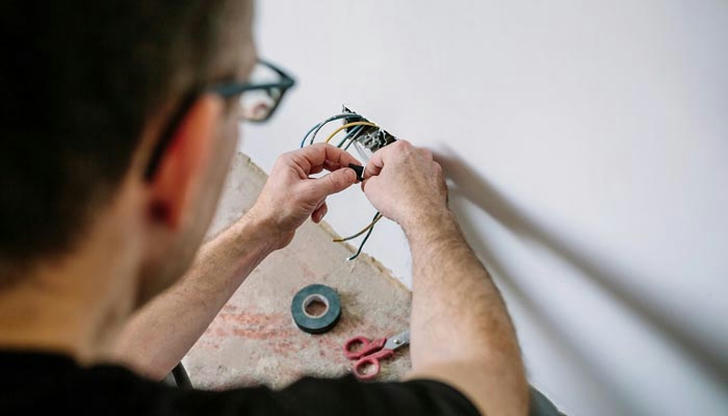
Pro Tip: Wrap terminals with electrical tape for extra insulation.
Step 7: Install the New Outlet
- Carefully push wires back into box
- Secure outlet with screws
- Ensure outlet sits flush
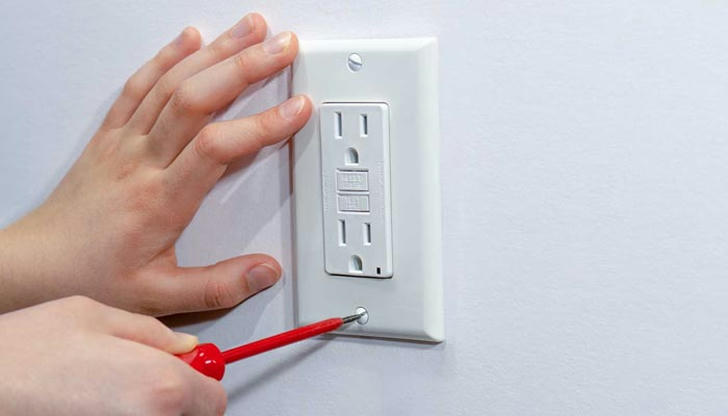
Step 8: Replace the Cover Plate
- Align cover plate properly
- Secure with screws
Step 9: Restore Power and Test
- Turn power back on at breaker
- Test outlet with voltage tester or appliance
Home Wiring Safety Tips
- Always verify power is off before working
- Use proper insulated tools
- Follow local electrical codes
- Never overload circuits
- Consult an electrician if unsure
Common Mistakes to Avoid
- Skipping voltage testing
- Reversing hot/neutral wires
- Over-tightening terminal screws
- Improper grounding
Conclusion
Replacing a broken outlet is a manageable DIY task when done carefully. By following these steps and prioritizing safety, you can restore functionality to your electrical system. Remember - when in doubt, consult a licensed electrician for assistance.
With proper precautions, you can complete this repair confidently and safely!
