
Step-by-Step Guide to Making a Wooden Bench
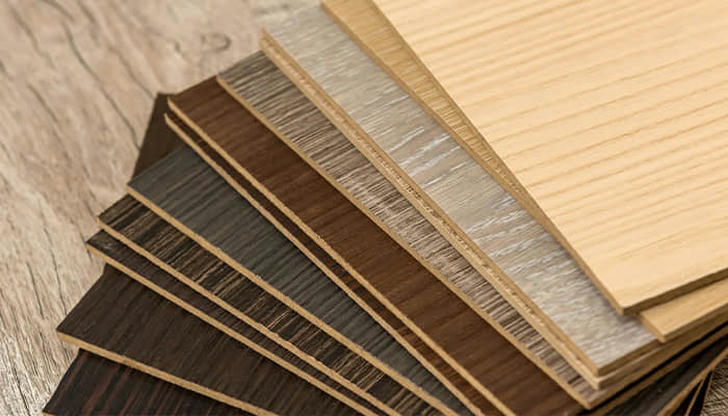
Selecting the right type of wood is the foundation of a sturdy and durable bench. Hardwoods like oak, maple, or walnut offer strength and longevity, while softwoods like pine or cedar are more affordable and easier to work with. Consider the bench's purpose and location when making your choice.
Choosing the Right Wood
Selecting the right type of wood is the foundation of a sturdy and durable bench. Hardwoods like oak, maple, or walnut offer strength and longevity, while softwoods like pine or cedar are more affordable and easier to work with. Consider the bench's purpose and location when making your choice.
Wood should be smooth, straight, and free from defects like cracks or knots that could weaken the structure. Properly dried and treated wood prevents warping and ensures a long-lasting piece. Buying pre-sanded boards can also save time during the building process.
Gathering Essential Tools and Materials
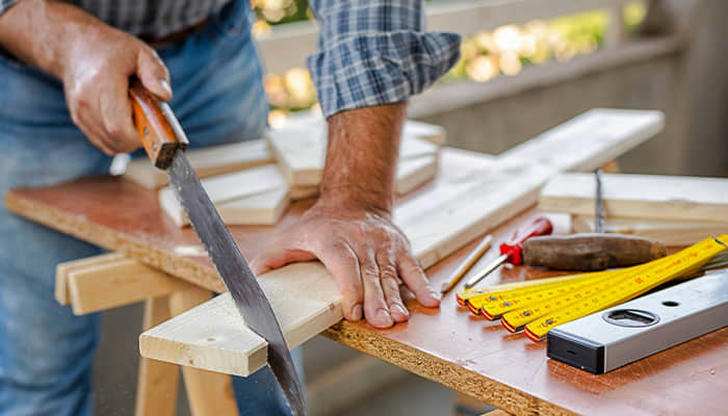
To make a wooden bench, you'll need basic woodworking tools. A saw (circular or hand saw), drill, measuring tape, clamps, sandpaper, and a hammer or screwdriver are essential. If you have access to a power sander and a miter saw, they can make the job quicker and more precise.
Aside from tools, gather screws, wood glue, and a protective finish such as wood stain or sealant. Choosing the right fasteners ensures the bench stays strong, while a finish protects it from moisture and wear over time.
Planning and Measuring Your Bench
Before cutting any wood, it's crucial to plan your bench's dimensions. A standard bench is about 48 inches long, 18 inches high, and 14 inches deep, but you can customize it to your needs. Sketching a simple design or finding a blueprint can help visualize the final product.
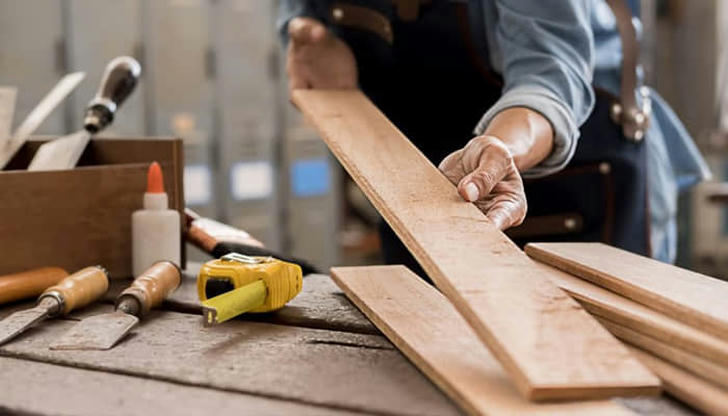
Double-check all measurements to avoid mistakes that could waste materials. Marking wood with a pencil and using a straightedge or carpenter's square will help achieve accurate cuts and ensure everything fits together properly.
Cutting and Preparing the Wood
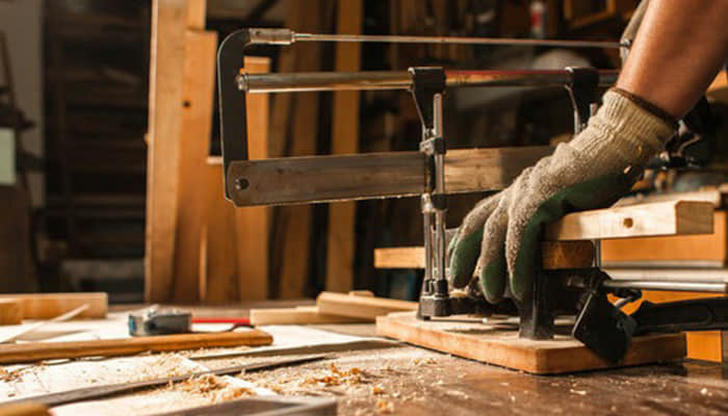
Using your measurements, carefully cut the wood pieces for the seat, legs, and supports. A circular saw or a handsaw can be used depending on what you have available. Cutting precisely is key to a well-assembled bench.
After cutting, sand all pieces to smooth out rough edges and splinters. Sanding not only enhances safety but also improves the finish's adhesion later on. Starting with coarse sandpaper and finishing with a finer grit will yield the best results.
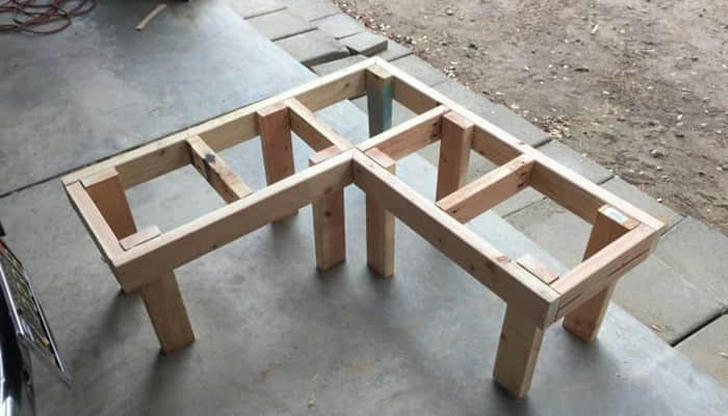
Assembling the Bench Frame

Begin by assembling the bench frame, which includes the legs and supports. Attaching the legs securely ensures the bench is stable and can support weight without wobbling. Use wood glue for added strength before screwing or nailing the pieces together.
Clamps can help hold the frame steady while fastening the joints. Checking for levelness during assembly ensures an even and balanced bench. Reinforcing the frame with additional braces can add durability, especially for larger benches.
Attaching the Seat and Backrest
Once the frame is secure, attach the seat by positioning it evenly on top of the frame and fastening it with screws. If the design includes a backrest, install vertical supports before attaching the back panel.
Spacing the backrest slats evenly creates a professional look and provides comfortable support. If using wood glue, allow it to dry fully before putting weight on the bench to prevent shifting or weakening of the joints.
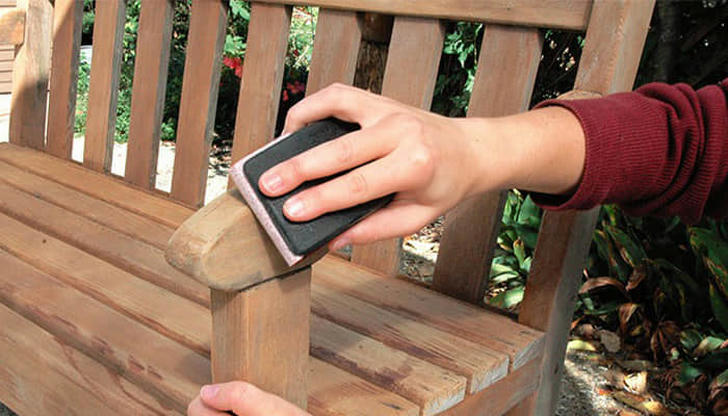
Sanding and Smoothing the Bench
After assembly, do a final sanding of the entire bench. Pay extra attention to edges and corners to prevent sharp spots that could cause injuries. Using an electric sander can make this process faster, but hand sanding allows for more detailed work.
Dust off the bench thoroughly before applying any finishing coats. A clean, smooth surface ensures the stain or paint adheres properly and provides an even finish.
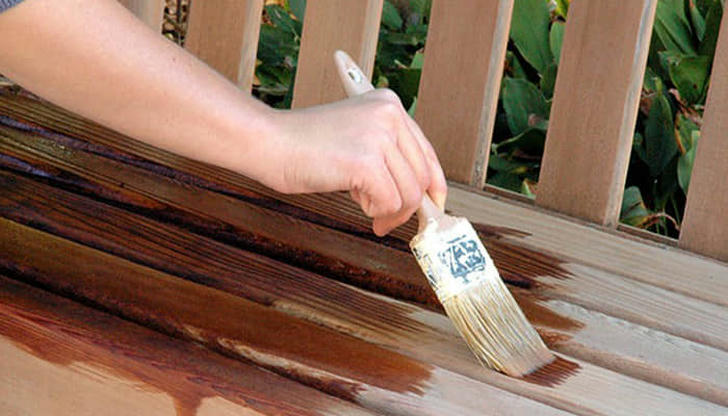
Applying a Finish for Protection
A protective finish extends the life of the bench and enhances its appearance. Wood stain highlights the natural grain, while paint allows for creative color choices. A clear sealant or polyurethane coat protects against moisture and scratches.
Applying multiple thin coats rather than one thick layer helps achieve a smooth and even finish. Allow adequate drying time between coats, and use a brush or cloth for the best application. Outdoor benches may require a weatherproof sealant to withstand the elements.
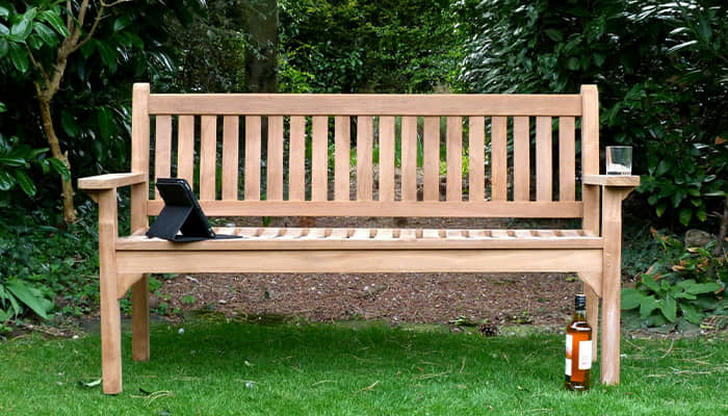
Enjoying and Maintaining Your Bench
Once the finish has dried, your wooden bench is ready to use! Place it in your desired location, whether indoors or in a garden setting. Proper maintenance, such as occasional re-sanding and reapplying finish, will keep it looking great for years.
Regularly check for loose screws or wobbly parts to ensure safety. With the right care, your handmade wooden bench can become a lasting piece of furniture that brings comfort and beauty to your space.